|
| Blower door installation at test - 11.21.12 |
The results of the first blower door are back. We measured the porosity of a fine meshed sieve.
So what does this mean?
The question I wanted to know is what does the test mean in terms of ultimate outcome, the meaning of terms (Pa), air changes, etc.
The 2012 IECC (International Energy Conservation Code) tests the thermal performance of the building envelope (R402.4) looking for a test pressure of 50 Pascals at a pressure of .2 in w.g. resulting in 3 air changes per hour at this climate zone (6B).
The US Army Corps of Engineers has tested recent buildings and has found the average building studied achieves a result of .25 CFM / SF air leakage of exterior envelope at 75 Pascals at a pressure of .3 w.g.
A pascal is the SI unit for pressure and is independent of ambient temperature, local gravity and media density. 1 pascal = .0001450377 psi. Per an online conversion table 50 pa of pressure is roughly equivalent to a 21 mph wind.
The results of this particular test (see image below) are that I could not get the blower door to register 50 pa with the fan at highest speed. Maximum Pa I could get was 31.0. The second number on the meter should be relatively close to the square footage of the space being tested. In the case of this little structure it should be around 715 - 720. The meter reading is 7913, So I am about 10 times draftier than I should be, and I should be able to achieve at least a 50 Pa reading when the retrofit is complete.

The results are not unexpected.
This information is really good to start with. Something we as architects should know about early in a design process as we deal both with the art of our profession and the science of our profession. This is the science part.
This will help inform the technical decisions that are coming quickly.
Air barrier v. no air barrier?
What happens to the existing building materials - that have been around for 70 years that are dry and in great shape - when the envelope gets tightened up and possibly subject to more moisture?
When insulating the building and tightening the envelope what materials are most appropriate and constitute legitimate air and vapor barriers?
What is the most efficient insulating material?
The performance of the new windows will be what?
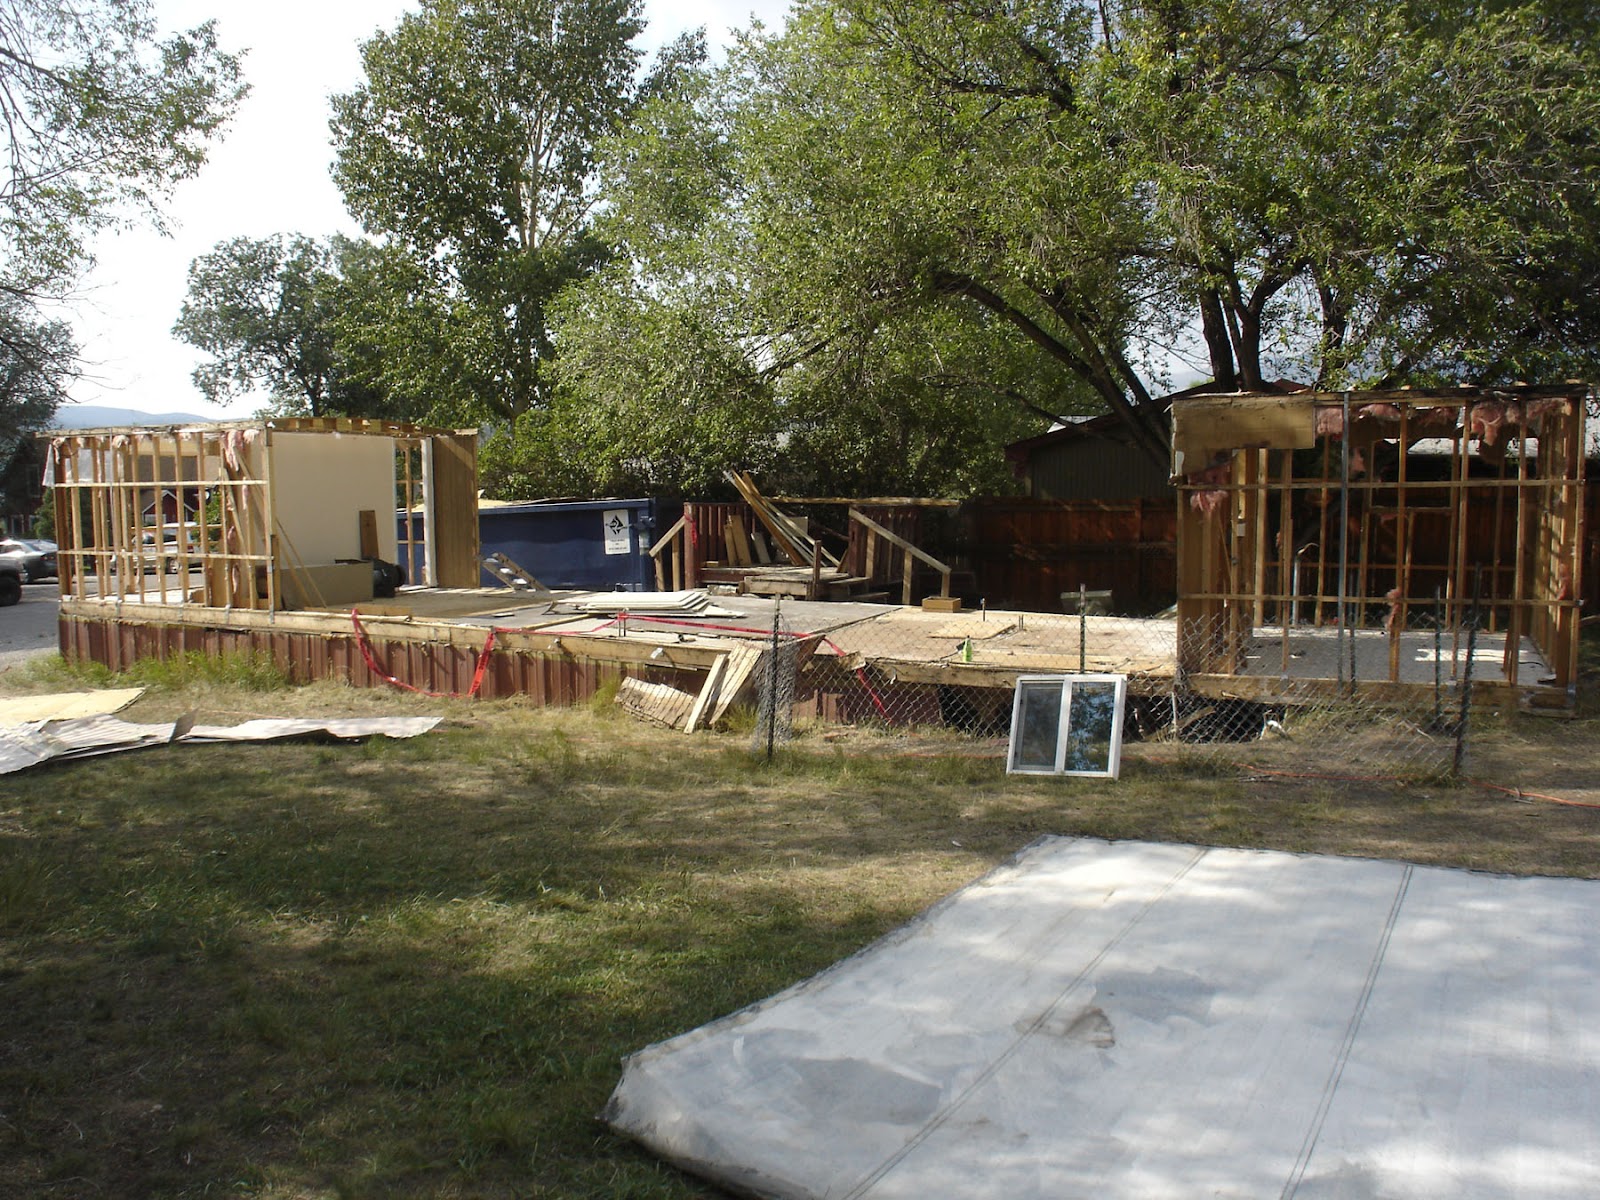
So I go to the cabin this morning to continue the demolition, exposure of the structure and the "cleansing" process.